

The Secret to Making Small Spaces Look Bigger in Photos
Small rooms can be tricky. In person, they might feel cozy and inviting, but in photos, they often end up looking cramped or cluttered. If you’re trying to showcase a property online—whether for a rental listing, a home sale, or even a design portfolio—making small spaces look spacious can be the difference between a quick sale and a stale listing.
In this guide, we’ll uncover the techniques top professionals use to transform compact rooms into airy, appealing spaces in photographs.
1. Harness the Power of Natural Light
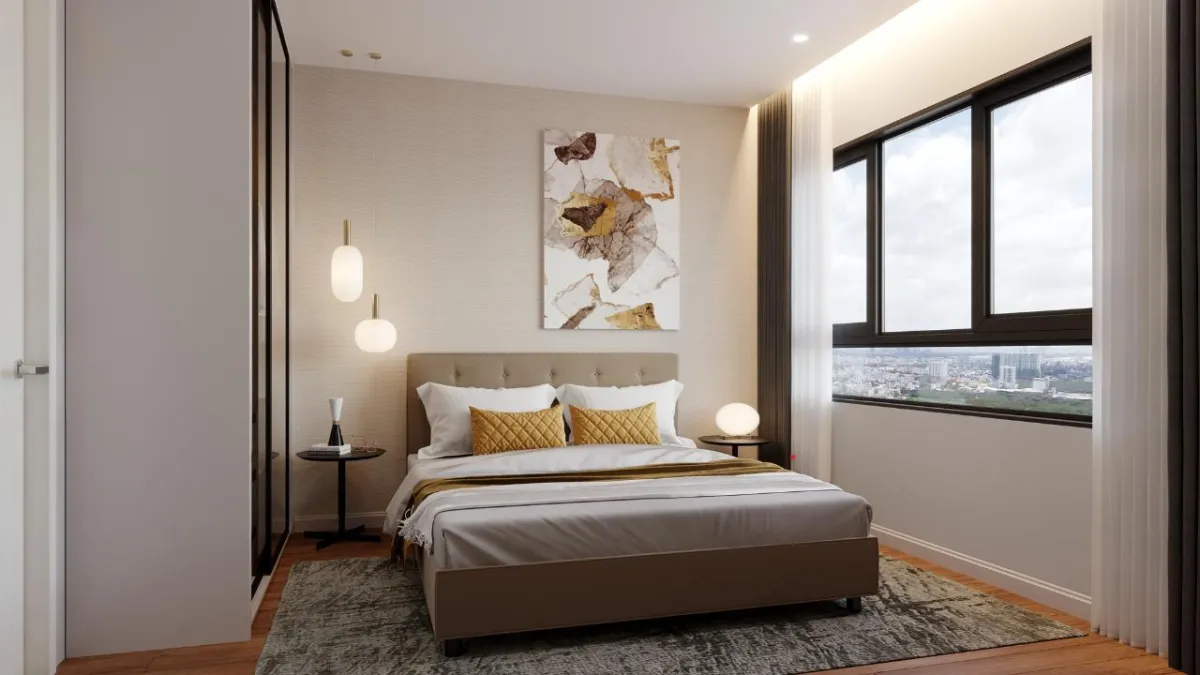
Lighting is the single most important factor in making a small space appear larger. Natural light not only brightens the room but also softens harsh shadows that can make walls feel like they’re closing in.
Open curtains or blinds to let in as much daylight as possible.
Avoid direct flash, which can create stark contrasts and make the room feel flat.
If shooting on a cloudy day, use softbox lights or diffusers to mimic natural light.
Pro tip: Position yourself so the main light source is behind you, allowing light to flood the space evenly.
2. Use the Right Lens (and Use It Wisely)
A wide-angle lens is a real estate photographer’s best friend—but it has to be used carefully. While a wide lens can capture more of the room and make it feel larger, overdoing it can distort proportions and create unrealistic expectations.
For most small spaces, a focal length of 16–24mm works well. This range allows you to include more of the room without making walls appear warped. Always keep the camera level to prevent vertical lines from leaning inward.
3. Declutter and Simplify
Visual clutter is the enemy of spaciousness. Even in person, a room feels bigger when it’s clean and minimal—but in photos, clutter becomes even more pronounced.
Remove excess furniture that blocks sightlines.
Clear countertops and shelves.
Leave a few tasteful accessories to add personality without overcrowding the scene.
This doesn’t mean stripping the room bare; instead, focus on balance. A couple of well-placed items—a vase, a lamp, or a framed print—can make a space feel lived-in yet open.
4. Choose Lighter Colors and Strategic Angles
Light, neutral tones reflect more light and create an airy feel. Walls in shades of white, beige, or soft gray visually expand the room. If repainting isn’t an option, consider lighter bed linens, curtains, or rugs.
When it comes to angles, shoot from the corner of the room rather than straight on. This creates a sense of depth, making the space feel larger. Keep the camera at chest height to maintain natural proportions.
5. Enhance with Thoughtful Editing
Post-processing is where the magic happens. Brightening shadows, correcting color balance, and straightening lines can take a photo from average to professional quality.
Subtle adjustments are key—over-editing can make images look artificial. The goal is to present the room at its best while keeping the final image true to reality.
Case Study:
A small studio apartment in Houston was struggling to attract renters. The listing photos made it look dark and cramped. After hiring a Houston photographer from B&A Photography, the owner saw a complete transformation. The photographer maximized natural light, used a wide-angle lens sparingly, and staged the apartment with lighter furnishings. Within a week of updating the listing, multiple offers came in—proving that presentation truly matters.
Why Professional Help Is Worth It
While DIY photos can work for personal projects, real estate marketing is a high-stakes game. A seasoned real estate photographer knows exactly how to manipulate light, composition, and editing to bring out the best in a property—especially small spaces. Their expertise can turn a room from “meh” to “must-see,” ultimately attracting more interest and higher offers.
Making small spaces look bigger in photos isn’t about tricking viewers—it’s about showing the room’s full potential. With the right light, lens choice, styling, and editing, even the tiniest corner can feel open and inviting.
If you’re ready to make your listings shine, start applying these tips—or better yet, bring in a photography pro who can do them all for you. Contact us to learn how we can help.